Like many coaches, I build my programs around six foundational movement patterns:
- Squat
- Hinge
- Lunge
- Push
- Pull
- Carry
Of those, the hip hinge is by far the most problematic—for us to coach, and for our clients to master.
Why? It starts with learned disuse. Modern life has virtually eliminated the movement pattern. As coaches and personal trainers, it’s our job to help rebuild it, no matter how tough it is to teach our clients how to do it competently and pain-free. Their results—and, more important, their health—depend on it.
A proper hip hinge develops full-body strength and coordination, and does more to protect your clients from injury than anything else we do in a training program. But it’s also the movement most likely to create an injury.
Because of that risk, there’s almost never a good reason to start a client off with a conventional barbell deadlift from the floor. Not only is it the single most challenging exercise to coach, it’s not even close to the best choice for building posterior-chain strength and muscle mass.
I’ve included four better options here, all of which come from my new Functional Power Training system. Utilize them wisely, and you’ll help your clients get better results with less injury risk.
READ ALSO: Four Movement Patterns Your Clients Need to Master, at Every Age
Strategy 1: Build the movement from the top down
For many clients, the weakest link in the movement pattern is an inability to brace the pillar complex in a way that allows the hips, core, and shoulders to work together synergistically. A poor bracing strategy predisposes them to both chronic and acute injuries, and puts a glass ceiling on their total-body strength. They can see the next level, but they can’t get there.
The landmine RDL puts the load as close as possible to anatomical neutral. From the top, the bar forces the client to push the hips back, which is a great external cue for someone who’s learning to hinge. And with the bar grounded and the load traveling along the body’s midline, the bracing strategy is natural and intuitive.
Ver esta publicación en Instagram
Strategy 2: Minimize spinal stress when lifting from the floor
Most of the weekly programs I write include two hinge variations: one from the top down, and one from the bottom up.
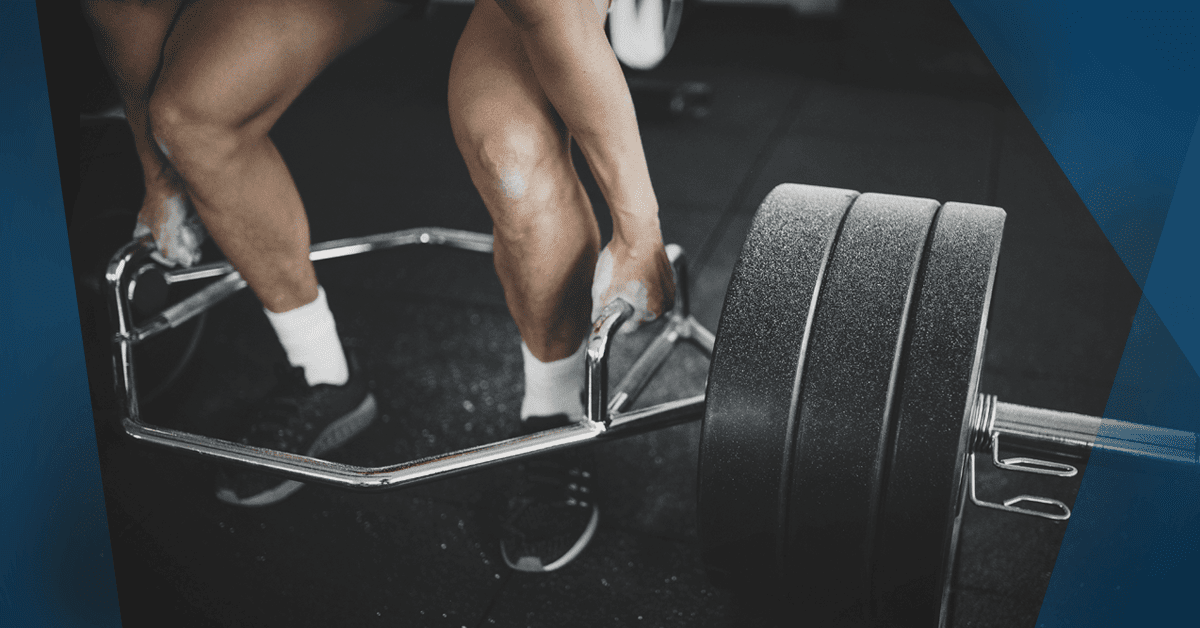
The trap bar is a good way to introduce a client to lifting from the floor. The high handles mean the client doesn’t have to bend as far, while the shape of the bar puts the client directly over the center of mass. That means less spinal stress, especially compared to the anterior load of a conventional barbell deadlift.
The chains I use in the video add more resistance to the top half of the range of motion. That allows stronger or more advanced clients to work with heavier loads while minimizing the resistance until the weight is off the floor.
If there’s a downside, it’s that the trap bar recruits the quadriceps, which means there’s somewhat less work for the hamstrings and glutes. So you may want to add some leg curls and/or glute raises to make up for it.
Ver esta publicación en Instagram
READ ALSO: A Trainer’s Guide to Building Muscle
Strategy 3: Lift from a rack or blocks
Clients come in all shapes, sizes, and proportions, with different levels of motor control and experience, and very different injury histories. What matters is that you never start a client in a position they can’t stabilize out of.
This is where personal training is both an art and a science. No matter what you think the client should be able to do, you have to visually assess what constitutes a safe starting position. Your goal is to find a range of motion that allows the hips, pelvis, and spine to stabilize from start to finish.
If that means elevating the load, the simplest fix is to pull from a rack or blocks. I’m pulling a straight bar with chains from a rack in the video, but you can also use dumbbells, kettlebells, or even a trap bar on blocks.
Ver esta publicación en Instagram
READ ALSO: Why “Safe” Exercises Aren’t Safe for Every Client
Strategy 4: Accommodate the strength curve
For any hinge variation, the greatest risk is when the load is in the bottom position, where your client is weakest and most vulnerable.
That’s why I like the reverse band method. The usual way to use bands is to anchor them on the ground, or close to it. The higher you raise the load, the more resistance the bands provide. But by anchoring them at the top, the fully-stretched bands deload the weight in the bottom position.
Make sure you get two matching bands, and hang them high enough so they never go completely slack.
Ver esta publicación en Instagram
If there’s a downside to these four variations, especially the last two, it’s that they require specialized equipment and a somewhat complex setup. They’ll be tricky to use in a crowded gym, especially in January.
But no matter what equipment or space you have to work with, your goal is the same: to fit the exercise to the client, rather than expecting the client to fit the exercise. Your client’s health, safety, and results depend on it.


